         This weekend saw me celebrating 31 years on this planet with a long weekend in London with my wife and daughter. A lovely time was had visiting some of the sights and we enjoyed a delicious meal at the Capital Hotel.
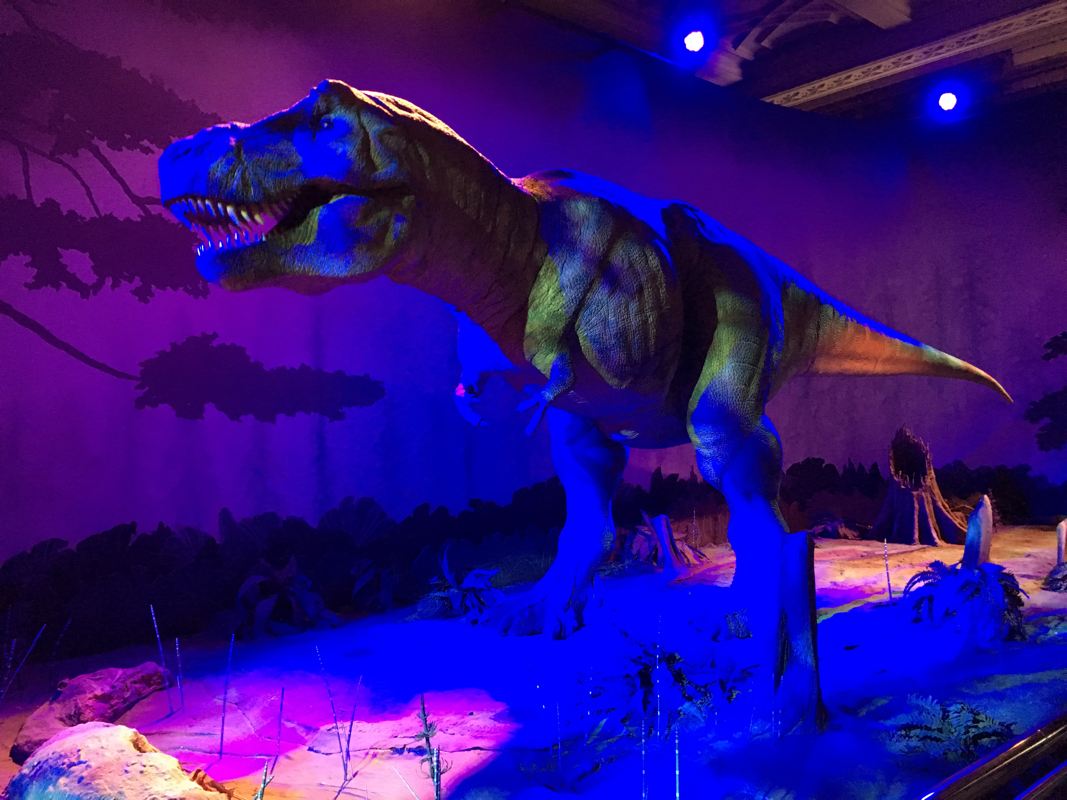
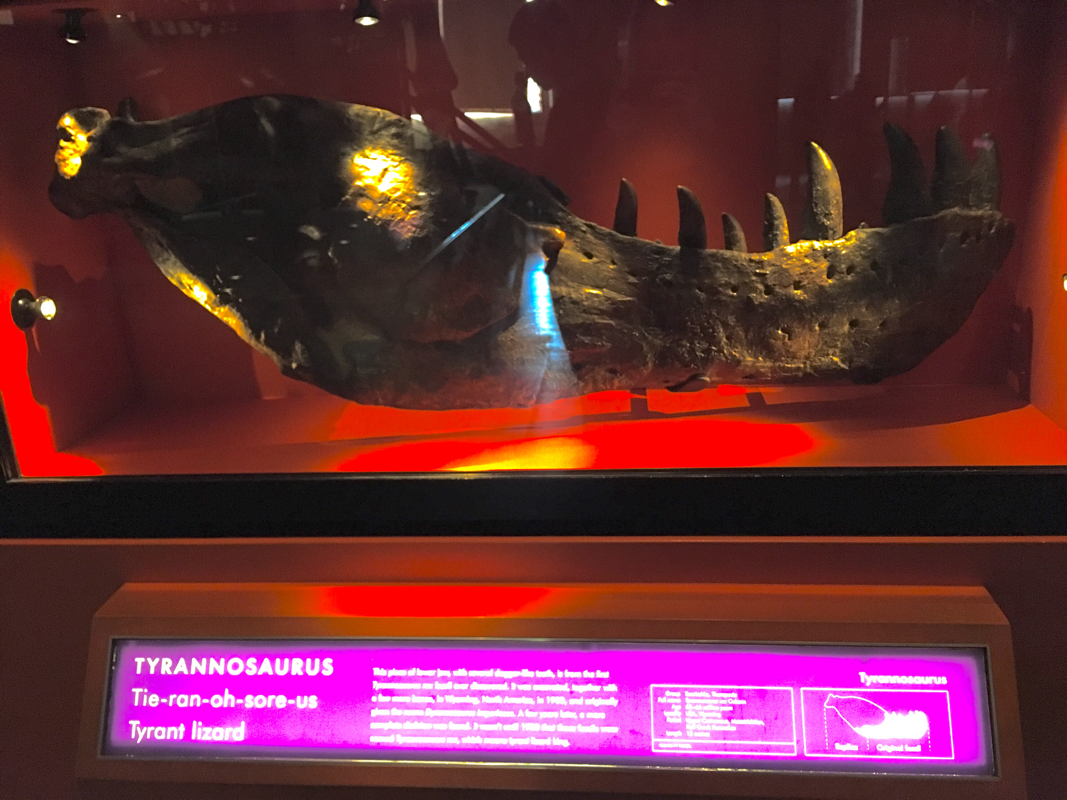
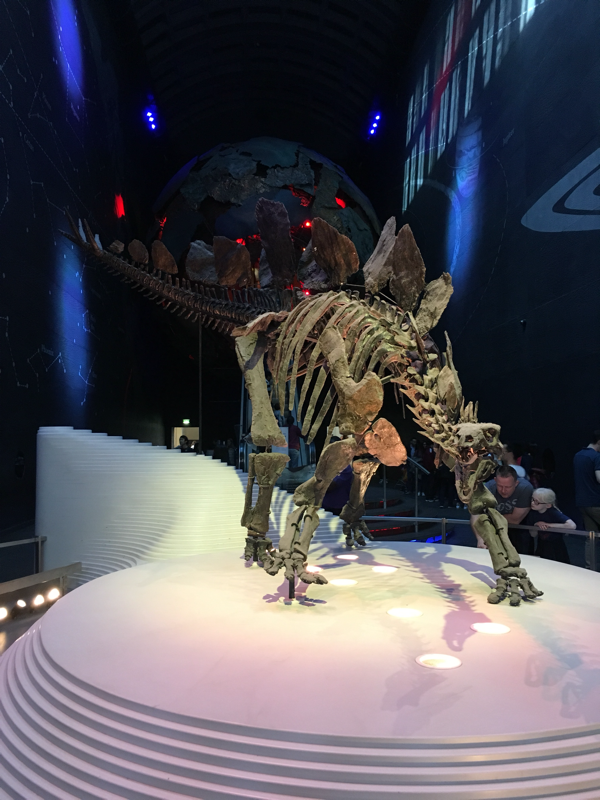
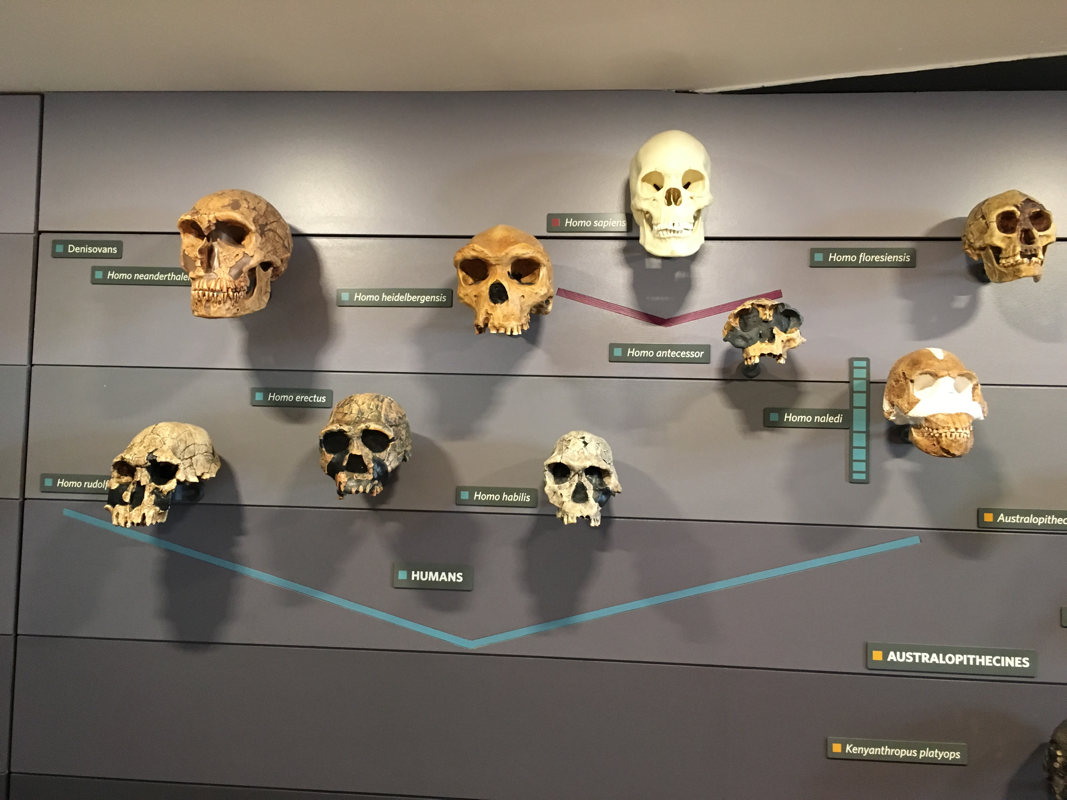
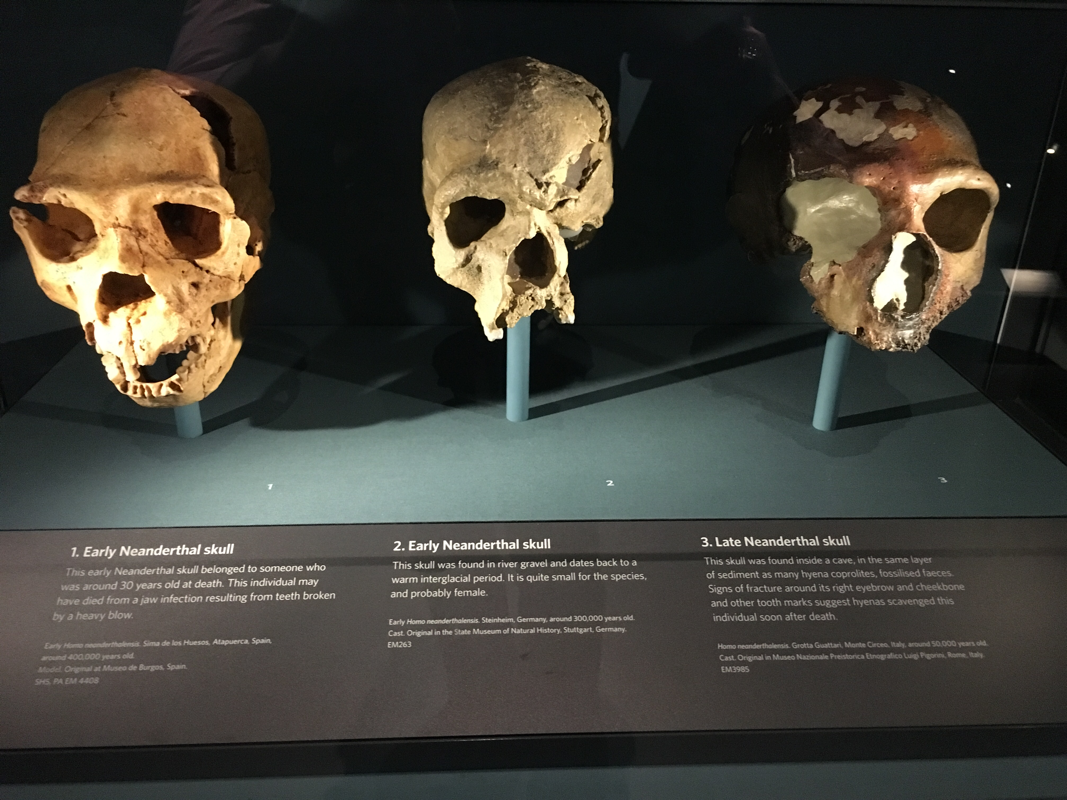
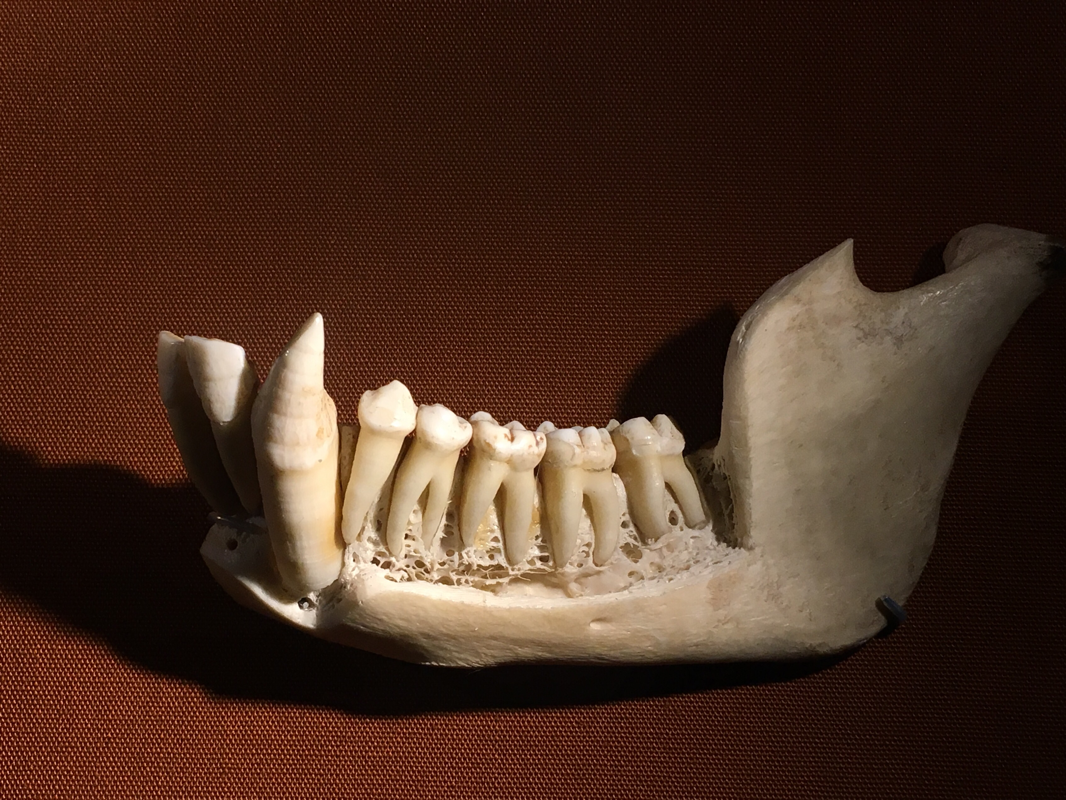
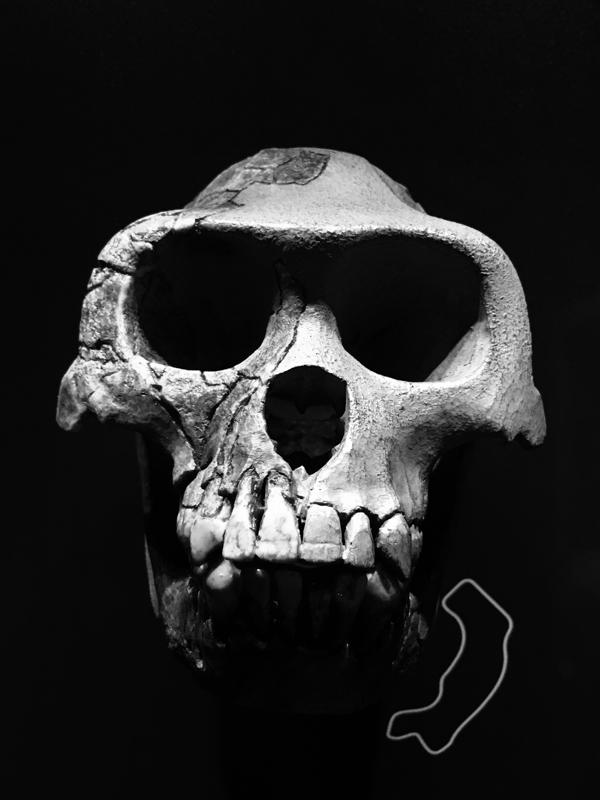
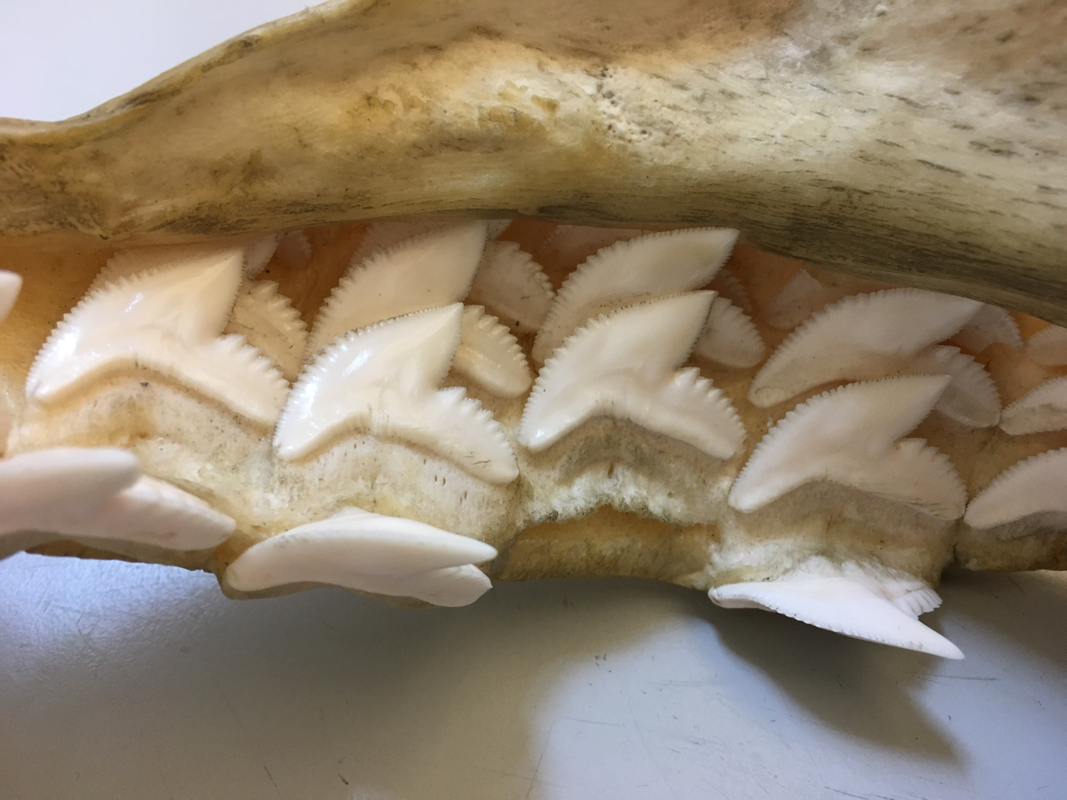
Molly loves dinosaurs so considerable time was spent at the excellent exhibition about them at the Natural History Museum and I then was able to explore the Human Evolution exhibition. This is a topic that I have become increasingly interested in over time. I have a family connection to anthropology and I am currently being enthralled by the much acclaimed book "Sapiens" by Yuval Noah Harari. More of this when I have finished the book and write its' review. For now here are a few pictures of my weekend.
0 Comments
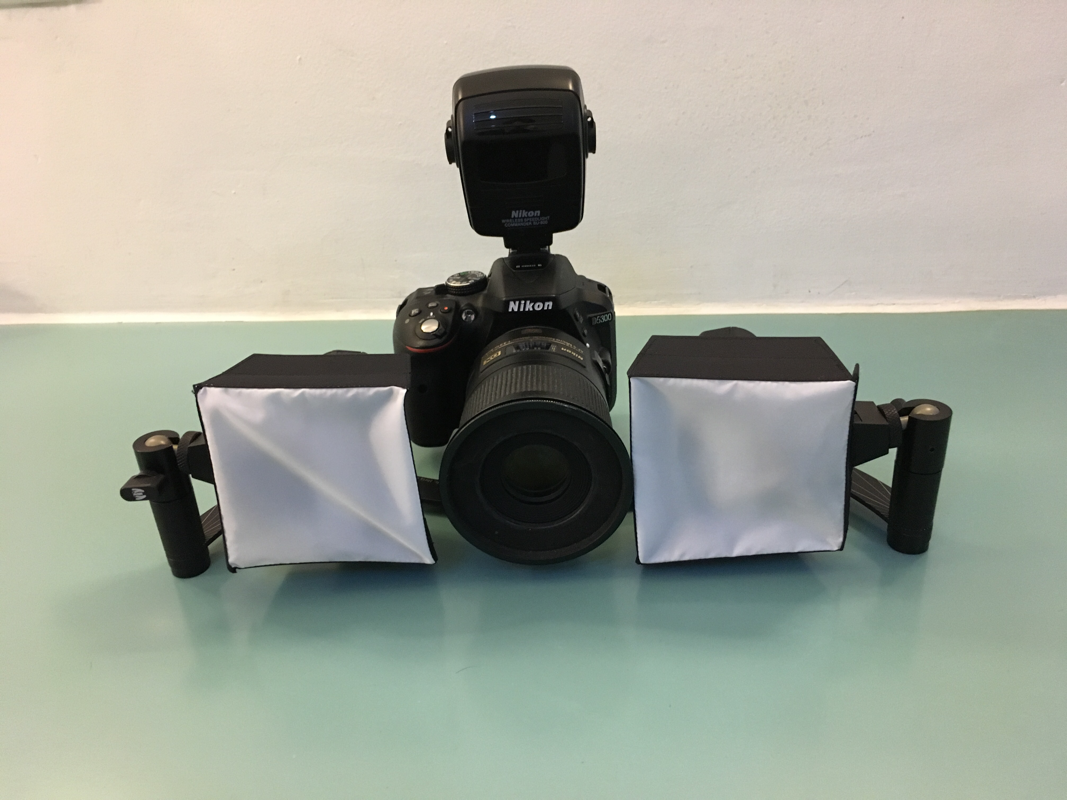


I make a big point about how important I think photography is in dentistry so I often get asked what camera equipment I have or get asked for advice about what to buy. Therefore this post is a little summary of all the camera equipment I currently own. I am happy to give advice but am also the first to admit that there are other dentists who know a lot more about photography than me so you may get better answers from other individuals on various forums.
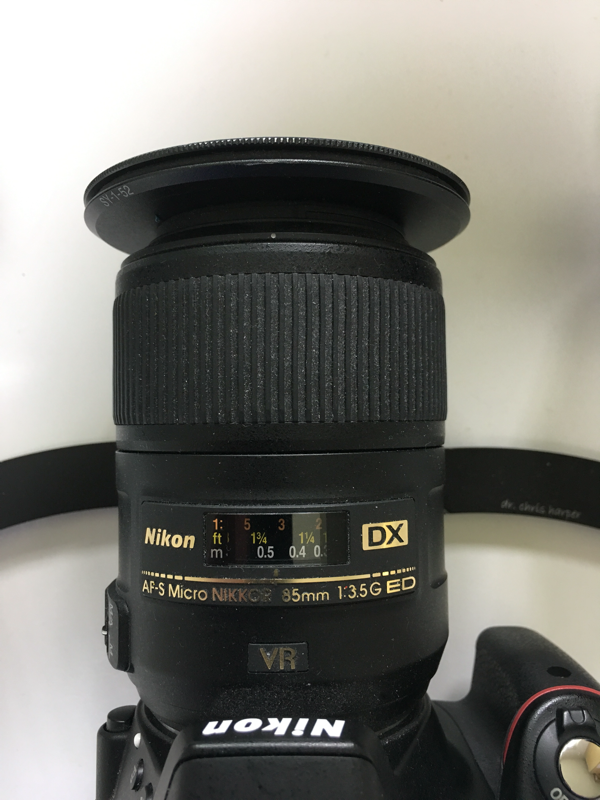
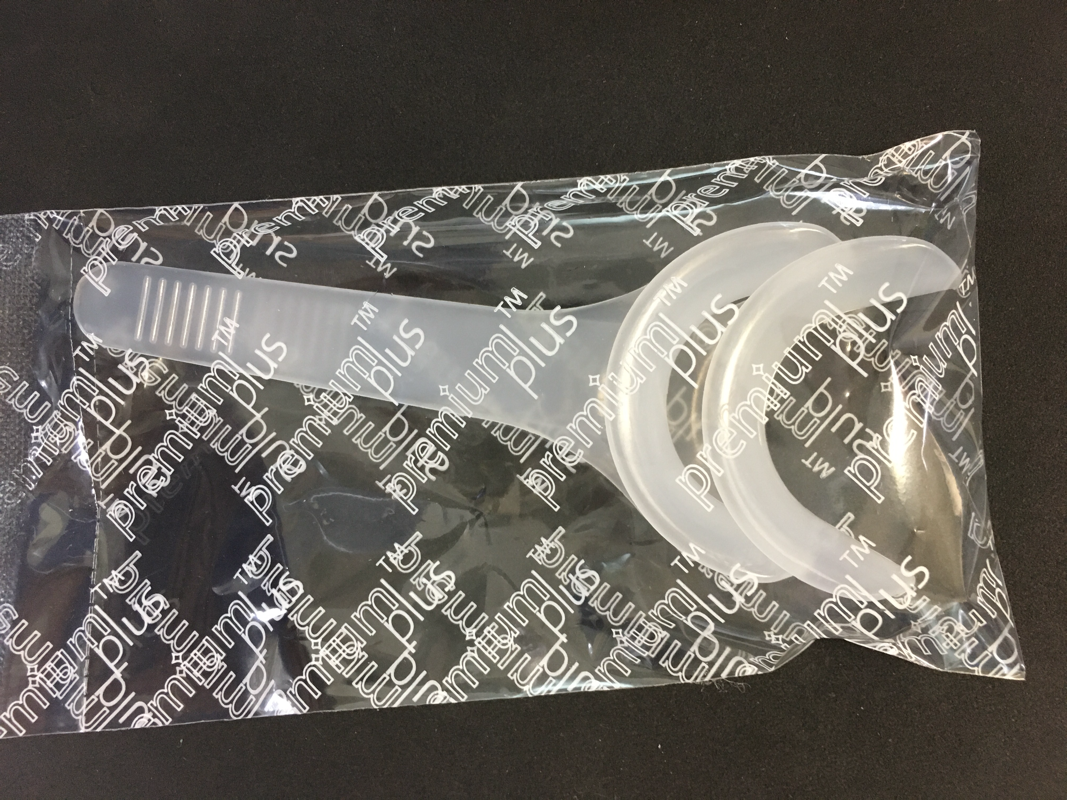
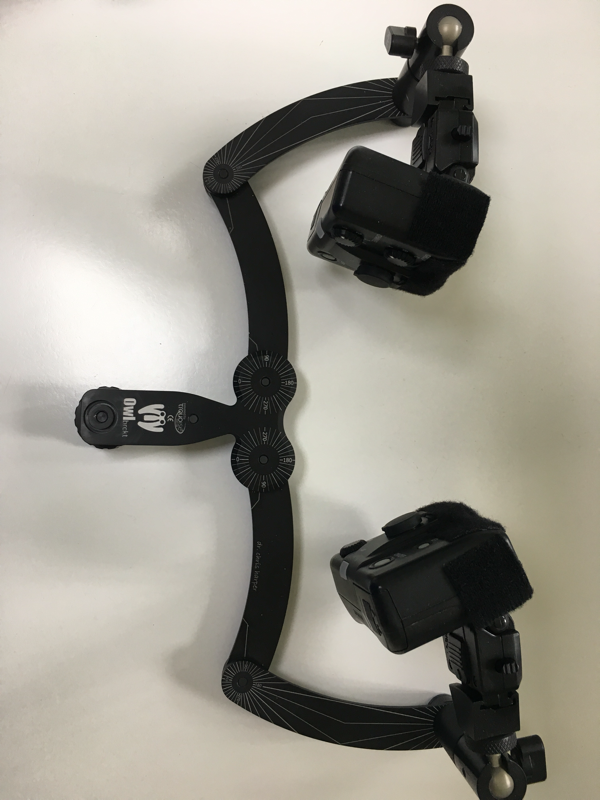
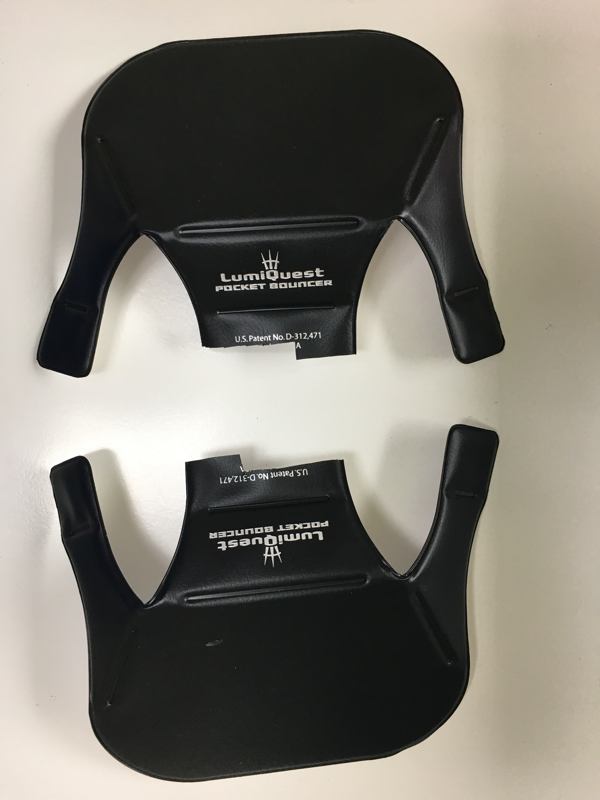
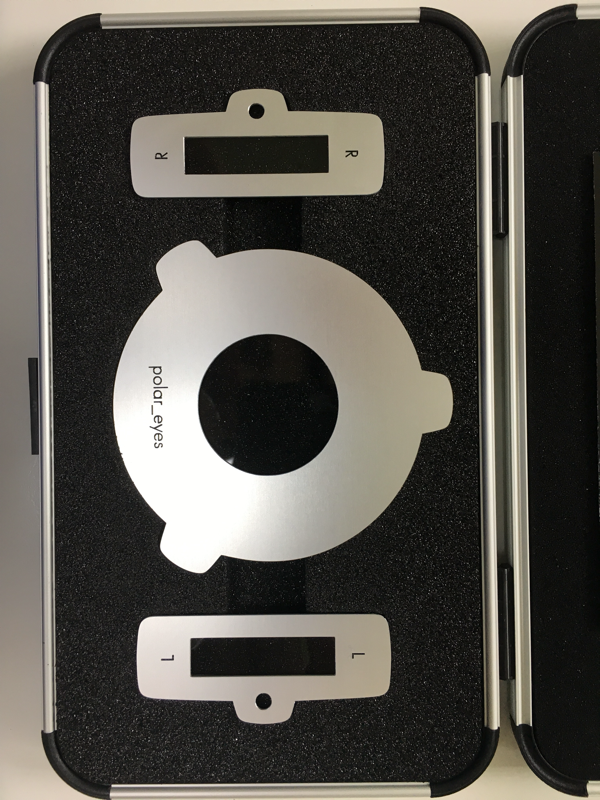
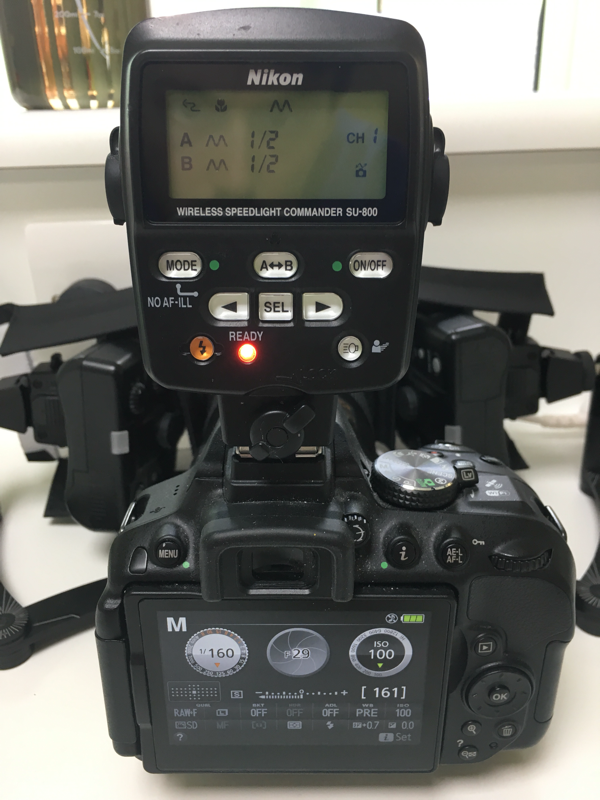
Main equipment - Camera Body Nikon D5300 https://amzn.to/2HUakoI - Lens Nikon 85mm macro lens. I chose this over the often recommended 105mm lens primarily because the 85mm is cheaper and lighter. https://amzn.to/2JlBODf - Flash Nikon R1C1 twin flash https://amzn.to/2HqAvXi - iPad Pro for storing and editing photos and showing animations to pts and for signing consent forms Accessories - Flash air SD card for transferring photos to iPad wirelessly - Owl Bracket for positioning flashes in various positions to get good posterior shots as well as nice anteriors - Soft boxes by Polaroid to help soften the harsh flash light slightly - Big bouncers which really reflect the flash light nicely to create very striking anterior shots and are great for taking photos of labwork however they are too large for posterior shots so I don't use them often. - Retractors from premium plus. These are cheap and stand up well to being autoclaved. They can also be cut off to make half retractors which makes mirror shots easier - Contrasters for making nice black backgrounds to your photos. - Mirrors. Whether you have glass or polished metal you need to look after them as they scratch easily, so mine stay in a cassette all of the time apart from when actually being used. - I heat the mirrors in a simple heated blanket from Amazon. - Polar_eyes cross polarised filter to eliminate harsh reflections allowing much better colour analysis of teeth. Essential for new techniques such as eLAB. - Lab work soft box, black Perspex sheet, ring light. I don't take many photos of lab work but when I want to get good shots I use this setup which gives very good results. - Stand for the iPad to sit on. - Cheap touchscreen pen for signing forms on the iPad. What settings you use depends on the equipment you have and the type of result you are looking for but the last photo shows my standard settings. Generally you want to use as low an ISO setting as you can to reduce noise, and an f stop number greater than 22 so that your depth of focus is decent. Below are links to some of my equipment on Amazon if you wish to find out more: 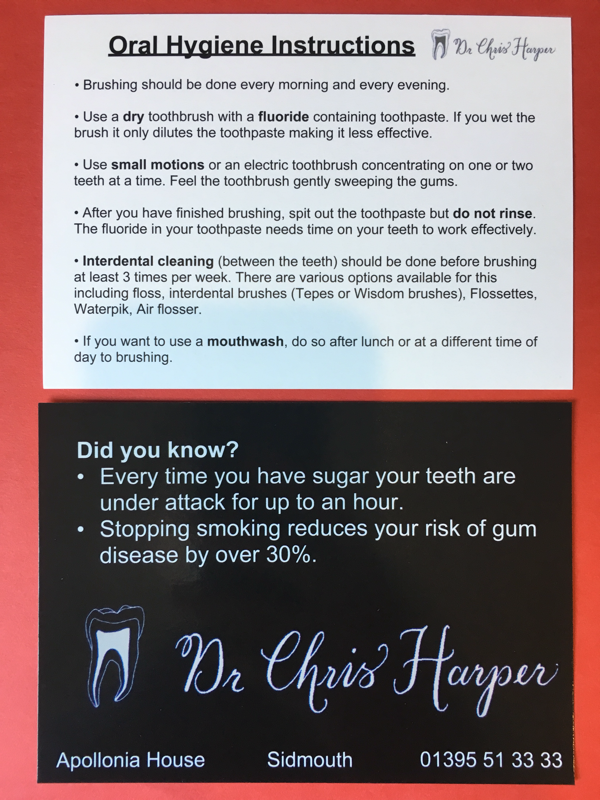  I have been giving out Oral Hygiene Instruction postcards to every patient for just over a year. Now that I have just taken delivery of my third version of them I thought I would bring them up again here incase anyone hasnt seen them.
When I adopted the idea of OHI postcards as a way of improving the quality of the OHI advice I give to my pts I was expecting that they may only help a small percentage of the pt base. I thought I was already quite good at OHI and therefore most pts wouldn't really need one of them. But I have been amazed at the response and very quickly they became integral to my checkup appointment. Over the past year I have given out almost 2000 of them to my patients, local schools and charities. With the third version I have now added a bit more advice on the back of the card about the hazards of sugar and smoking. I have also decided to create a simplified version aimed at younger patients (The blue and grey card). I find these have really helped in numerous ways: - Pts who were doing OK but maybe always forget one part of the routine (e.g. Not rinsing after brushing) come back the following time improved. - Almost every new pt comments on how much of a good idea they are and are surprised that their old dentist wasn't this thorough. - The pts that return for a second time with poor OH get a wake up call when I give them a second card and they realise they aren't following any of the points on it. It used to feel like I was telling these pts off but now with the postcard the emphasis has changed because the pt realises themselves that they have chosen to ignore my advice. If you are going to start implementing something like this you still need to be careful about how you do it. There's no point just putting a postcard in their hand as they walk out. I sit everybody down and give them the card to hold and read while I talk them through the main points using a demo model, toothbrush, interdental brushes etc. Then I advise them to put the postcard in the bathroom to remind them of my advice when they clean their teeth. This will reinforce my advice but hopefully it is also strengthening the pts relationship with me and the practice acting as a reminder for them to return for appts and if I ever move it may make some pts more likely to want to follow me. |
AuthorDr Chris Harper Archives
August 2020
Categories
All
|
 RSS Feed