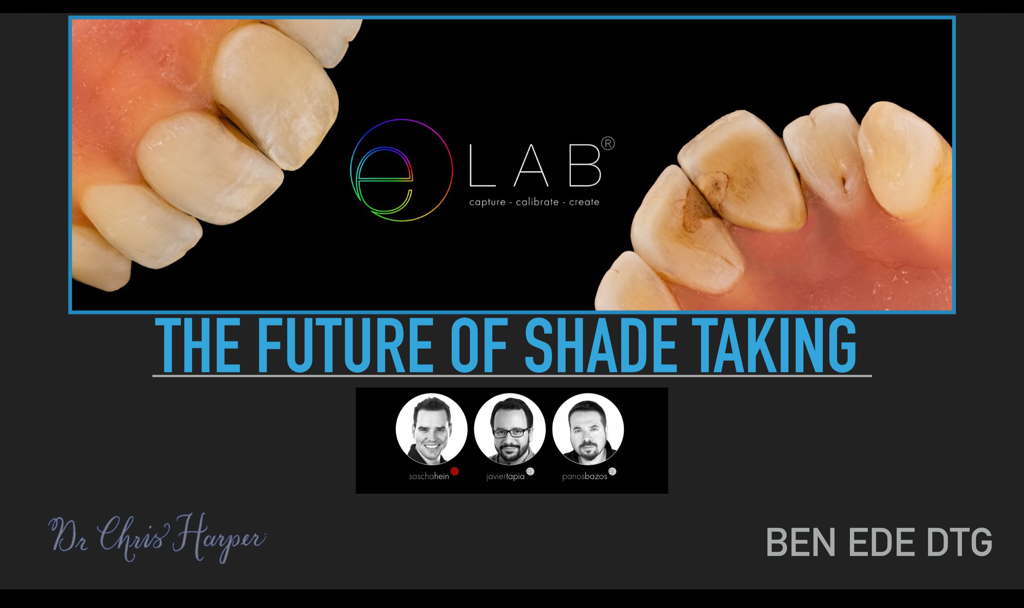
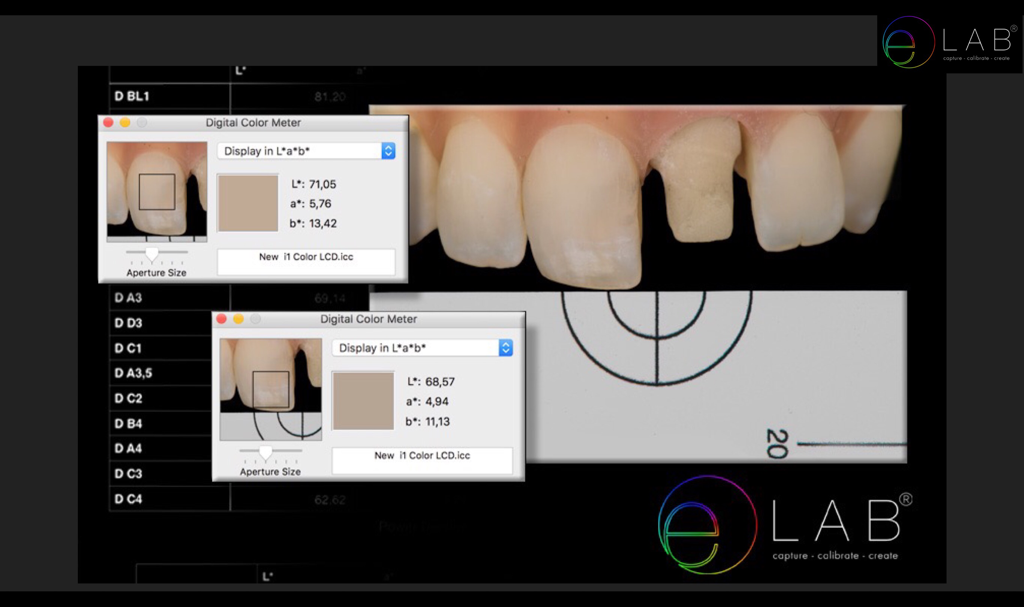
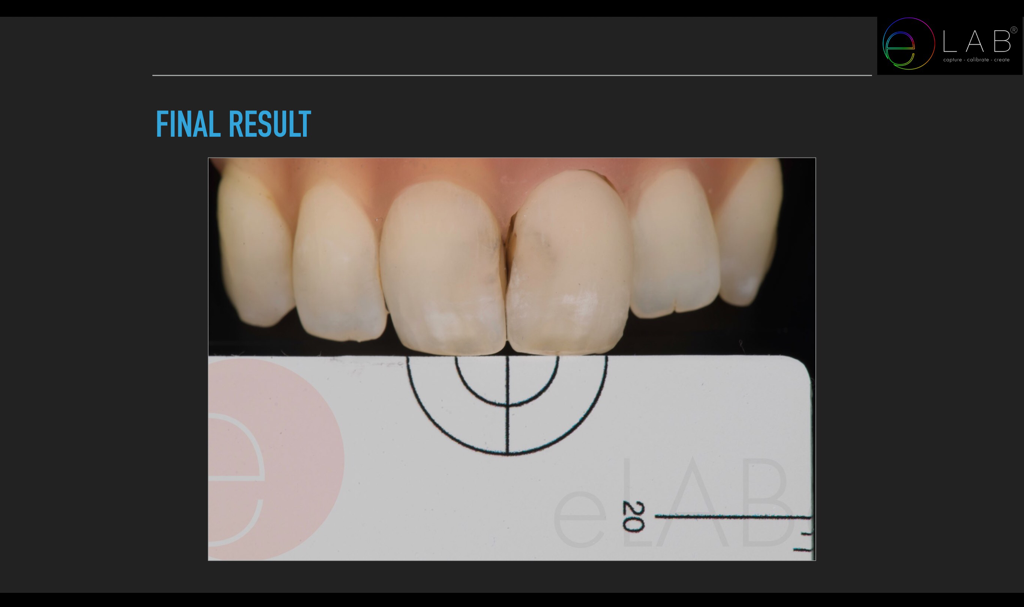
 Last night Pinhoe Dental Centre hosted the first meeting of the year for the South and East Devon Dentinal Tubules Study Club. I was honoured to be asked to present a talk on the eLAB system created by Sascha Hein and the Bioemulation group as Ben Ede (my ceramist) and I went on the first UK course on eLAB last year. It is a remarkably clever system in which a white balance card and a cross polarised filter allows precise colour measurements to be taken to eliminate the need for traditional shade tabs thereby avoiding all the flaws in the shade tab system. For awkward single central crowns it really does seem to be the future of shade taking. My slideshow from the evening can be found on my shared google drive and links to the eLAB explanation videos can be found on my useful resources page: http://www.drchrisharper.co.uk/useful-resources.html The eLAB facebook page can be found here: https://www.facebook.com/groups/1676076295976327/
0 Comments
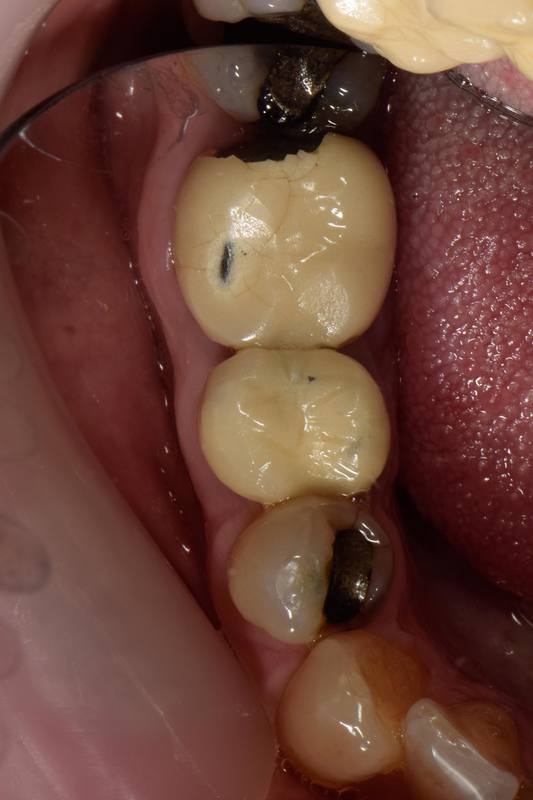
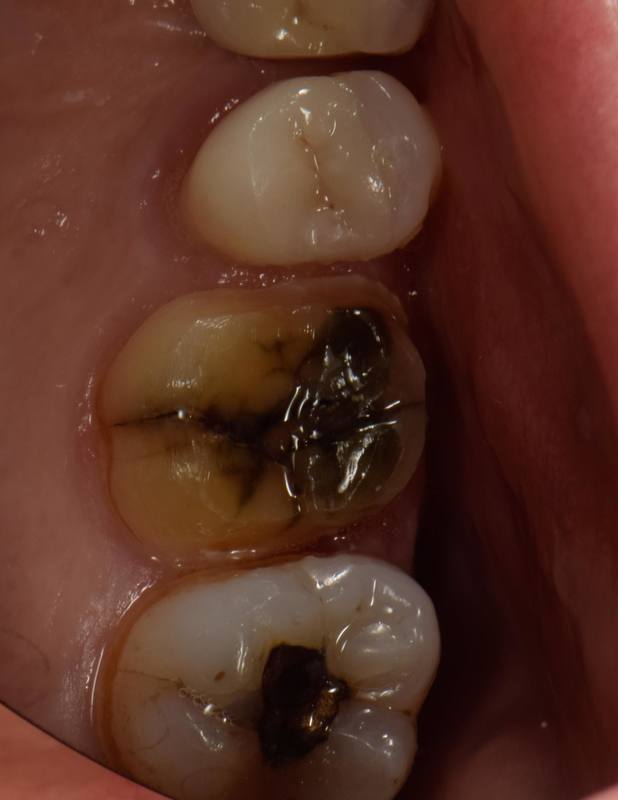
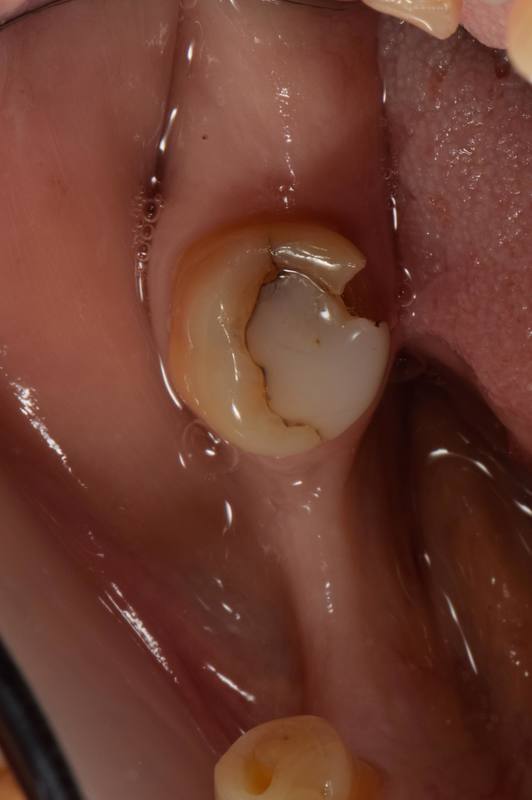
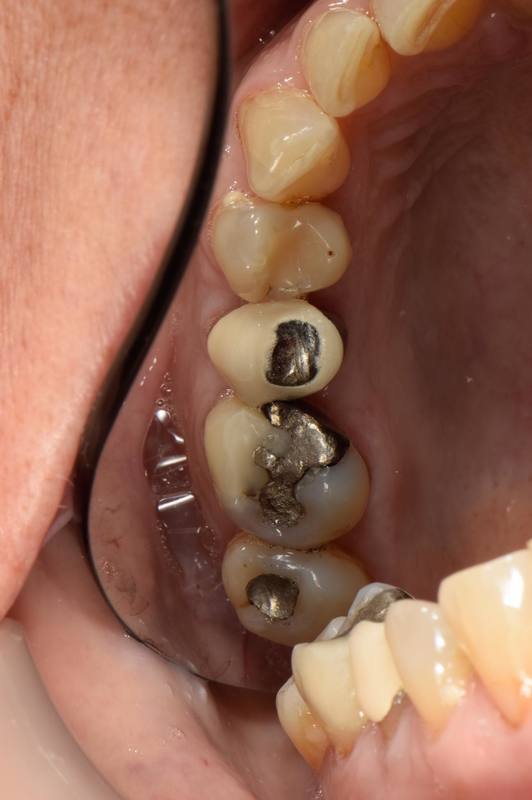
What's your excuse for not taking a lot of photos? I used to have 3 main excuses: 1) It takes too long. Previously that was a very valid excuse. When my old camera lived in a camera bag in a cupboard and taking dental photos was a rare occasion then understandably it took quite a while to set it all up and get half decent photos. I also then had to spend a fair chunk of my lunch break or at the end of the day using a card reader to transfer them onto the computer. 2) It is such a faff getting good photos. If your camera is not setup right and you are not used to taking photos then this is the case. 3) It doesn't make much difference whether I take photos or not. Hopefully I will show that these excuses were pretty lame and it is now possible to make dental photography quick, simple and very effective. Over the past few weeks I have been trying an experiment. Instead of picking up my basic chair mounted intra-oral camera I have been seeing if I can instead get half decent proper SLR photos and show them to the pt in that appt. I will make it clear that I have not been aiming for perfect photos, but instead, quick, simple and effective (useful) photos. I will explain how it works: 1) I say out-loud "I want to get a photo of some of your teeth so I can show you what I can see." My nurse knows this is the cue to get me some cheek retractors and start putting the pts details into the photo consent form. 2) I take one or two quick photos. 3) I sit the pt up and let the nurse do a little small talk while I connect my wifi SD card to the iPad. 4) I transfer those photos onto the iPad. 5) I explain photo consent and get the pt to sign the form. 6) Now I can start showing the pt their photos. This whole process once you are used to it takes about 3 minutes. Thats really not a long time. It is possible to do it this quickly because I have practiced at it and I have simplified the process as much as I can with a few shortcuts: 1) I have fine tuned my camera settings so that I can turn the camera on and I am ready to go for the vast majority of situations. I do not change any settings about 80% of the time. You can only do this by practicing and seeing what works for you. I will admit that if I took longer it would be possible to get better photos. I have come to certain compromises so my occlusal photos may be very slightly underexposed etc. 2) I package up my retractors in standard sets. Each set has a pair of large, small, and cut off retractors so that any pt can be accommodated. 3) I use a heated blanket so that my occlusal mirrors are ready to go all day long. 4) My camera has a shortcut button which I have programmed to take me straight to the part of the menu relating to creating a wifi link with an iPad. See photo below. 5) My iPad knows to automatically connect to that network when it sees it. 6) The relevant apps for the photo transfer, photo storage and consent forms are all my favourites at the bottom of the iPad screen. Now finally the effectiveness part. I honestly used to think that it didn't make much difference whether I took photos or not. I felt like I was good enough at explaining things so that the pts would understand me whether then can see their tooth or not. I also felt like my work was probably good enough without taking photos too. A recent examination proved this was not the case. I recently had a 5 year review of a veneer case I did just after qualifying. A lady in her mid 70s with a midline diastema she wanted to close and centrals with multiple composites on the buccal surfaces. I removed the fillings and prepared for feldspathic veneers and they are still in place. At the time I was happy with the result and the pt is still really very happy with how things look. However I was shocked at how many faults I can see with my previous work. A lot has changed in those 5 years. I am the first to admit that back then my passion for dentistry was almost non-existent. I did the job and went home. I have since then upgraded to 5x loupes. I now work exclusively with a very highly skilled technician. However the big factor for me is that if I had taken photos before I picked up a handpiece then I would have treated this case differently. And now that I am so much more used to studying photos of teeth in detail I know that my attention to detail is a lot higher and I would have been able to get a better result. So below are a selection of photos I have taken in the last few weeks. Every single one of them was taken, transferred onto the iPad and discussed with the pt at the same appt in my normal allotted times. I did not extend any of the appts to allow me to do this experiment. 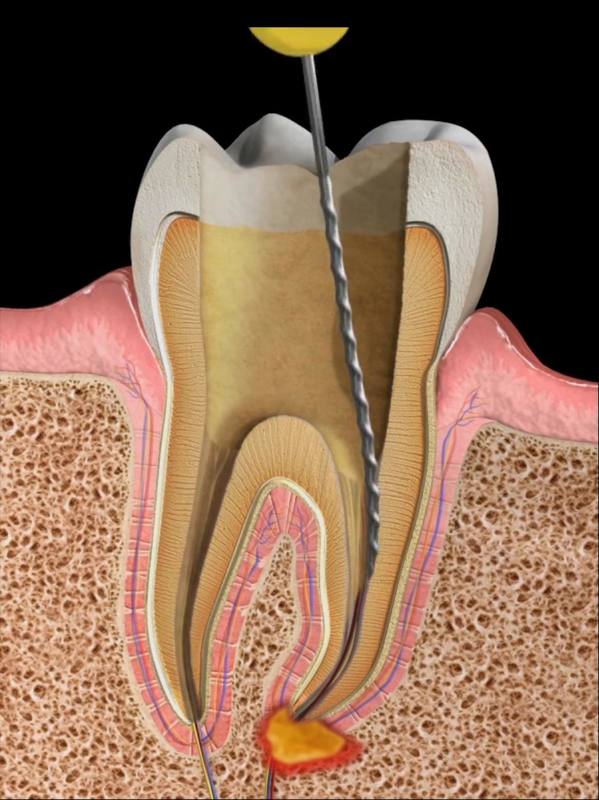 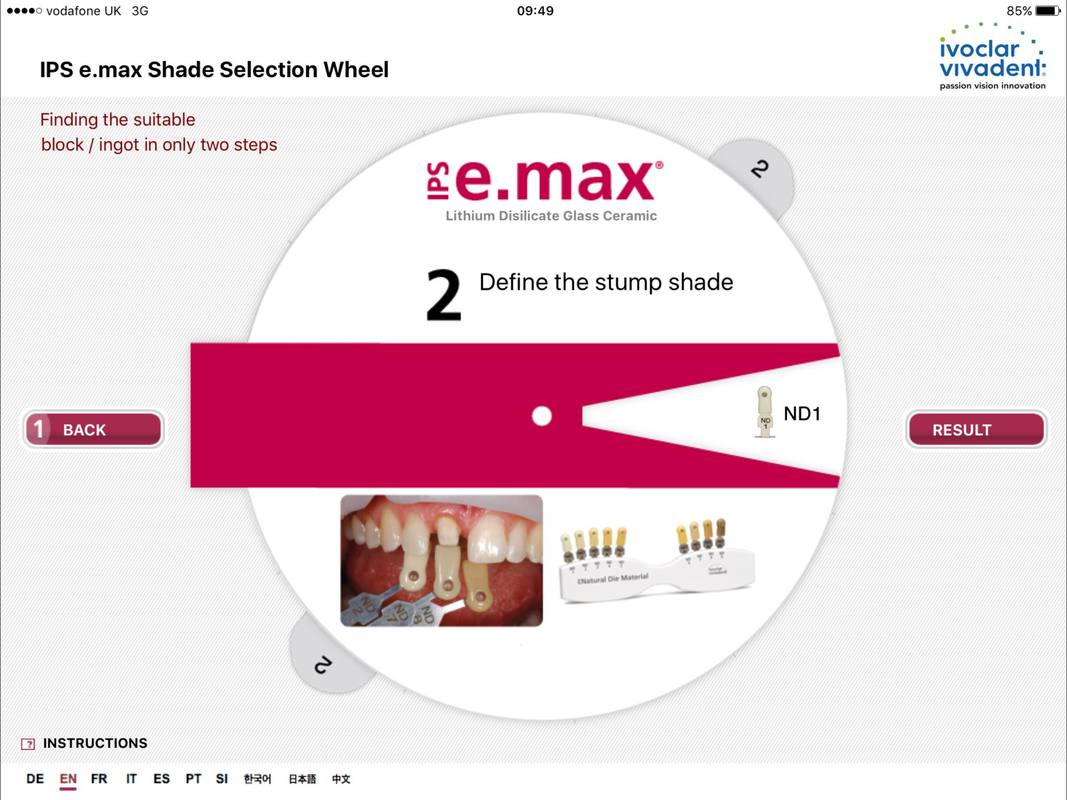  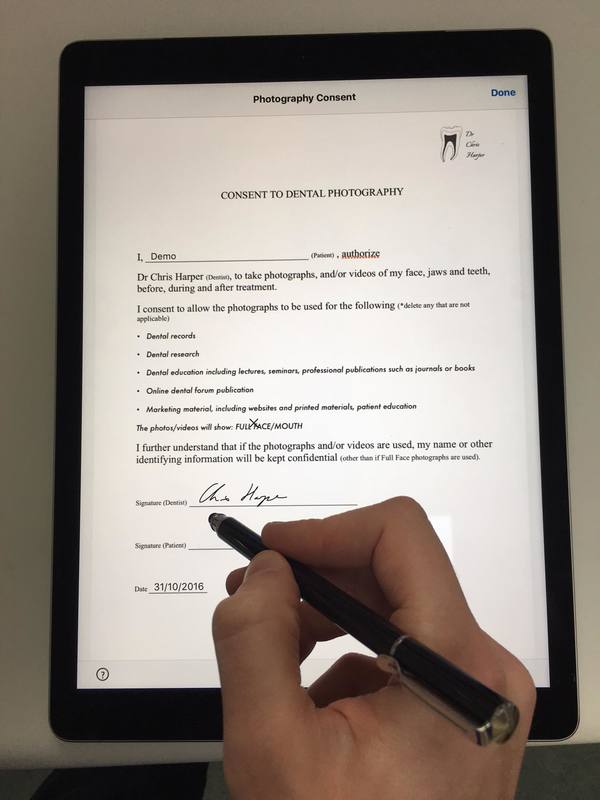  I have been using an iPad for dentistry for about 2 years now and keep on finding new ways that it can make dentistry better so I thought I would dedicate one blog entry to this and maybe other people might have found uses that I have not as well.
Some of this information has already been put up here in the form of my "apps thread" etc. 1) Photo management. I take photos with an SLR using a flashair SD card which has a corresponding app. I know there are other similar apps available. This means that I can take photos and transfer them directly onto the iPad in a few seconds to show to the pt and edit etc. My photos are stored on the iPad and sorted via google photos. This allows them to be put into pt specific albums which can be shared with technicians etc. Google photos also has basic editing tools for cropping and rotating photos, however I also use adobe photoshop express for flipping shots that were taken with occlusal mirrors. If you want to get more serious with your photography you can also get Lightroom for the iPad. This allows for storage and manipulation of Raw images which can allow for some pretty impressive tools such as the eLabor_aid protocols to help take the uncertainty out of awkward shade choices. If you have seen my clinical cases here you may have noticed that they are watermarked with my logo to ensure that others don't claim it as their own work. This is done directly on the iPad with the iWatermark+ app. There are other ways of getting the same effect but I find this very simple to use. 2) Patient demonstration animations. There are a few different pt demonstration apps available. Some are free, some you have to pay for. I use 3D4M almost every day to help explain dental anatomy, RCT, perio. It has hundreds of other animations that I have not used with quite a lot of implant variations too. I really like using animations to help explain complex procedures as I feel like my pts really understand what is going to be happening. 3) Consent forms. If you are doing written consent forms then the iPad can really help here. Instead of printing out the form, getting the pt to sign it, then asking your nurse to scan that form onto the computer and shred the form you can instead just do it all via an app such as Adobe Fill & Sign. You import your consent form onto the app and can then directly input the pts details and add/take away sections that are not relevant. The pt then signs on the iPad and the form is then saved as a PDF in iBooks. 4) Document management with Google drive or Dropbox etc. On a similar vein you may also want to consider file management apps like google drive or Dropbox to allow you to organise documents and have hem easily to hand. This would potentially be useful for clinicians working in multiple practices etc. I also have a folder on my google drive specifically for files I am happy to share with others such as when teaching first year dentists. 5) CPD. You can get CPD in many ways and the iPad can be a very good way of having lots of sources easily to hand so that if a pt doesn't turn up the time can at least be put to good use. I have a section for journals I often read but you can also do things like the quiz app "Dental Anatomy Master". And when you have done some CPD don't forget to log it via the Dental CPD pro app so that all your CPD records are in one place. 6) Additional monitor for your work computer setup. By using the Duet app it is possible for you to use an iPad as an additional monitor for your computer. I like this particularly for long appts such as RCT when I want to be able to look at the radiographs but also keep an eye on the daylist. 7) Scanning and milling. This is a field I have not got into but for those that have there are a few apps that might be useful such as 3Shape communicate and the e.max shade selector apps. These allow you to monitor the workflow of scanned items and help to work out which e.max block is likely to provide the desired shade. 8) Stock management. Depending on who you do your ordering with you may be able to have an app for that company (I know that dental directory has one) so that you can do ordering directly via the iPad. I have heard of some practices in America where the nurse logs every item used so that it can be centrally monitored and then automatically ordered when stocks hit certain levels. 9) Amazon music. As I have discussed previously I do have wireless headphones I offer to pts and then they can choose some music from my Amazon music database to stream. Some people love this however personally I don't use it very often as I prefer my pts to be able to hear me explaining each stage of the process as I treat them. 10) Clinipad. Again something I have not tried but I know that some practices really like to have all MHs etc filled out on the iPad to make paperwork easier. There are different types of tablets available and they may do many of the same tasks but I have not had a chance to try them out. If you have or if you know of other ways in which tablets have helped your dentistry please add it here or on the apps thread. So you might wonder why I would choose photography as such an early entry on my blog. The reason is simple: Getting into the habit of taking photos regularly has been one of the 3 big driving forces that have pushed my dentistry forward in ability and quality over the last few years (If you are interested the other 2 are the forums linked to in the useful resources page and forging a strong partnership with a really good technician Ben Ede from Stable Ceramics). They say a picture is worth 1000 words. There are so many aspects of dentistry where that is so very true. There is no way I could record in the level of detail required, or plan complex cases, or discuss things with patients the way I do without photos because the amount of information provided by photos would require tens of thousands of words to replicate. Recently week we had our new VT (foundation) dentist join the practice. Her name is Jeongmin Leanne Lee. Now I am not the VT trainer so I don't get paid to help her, but I enjoyed helping the last VT dentist (XinHui Yeo) a lot over the past 12 months and I am the only person in the practice who has invested in a decent camera. So I decided to book an hour out of a day to provide a photography tutorial to the new VT on her third day in practice. I did this because I hoped that it would help to emphasise the importance I put on photography and because it is highly likely she will be asking to borrow my camera so it makes sense for her to know how to use it. I realised afterwards that in that one hour she has taken more dental photographs than I took in my first 2 years of practice. And considering she was trying to get to grips with a strange, new, heavy camera they are pretty good indeed but that really isn't the point. By starting as she means to go on and by having the confidence to take photos she will now be able to better:
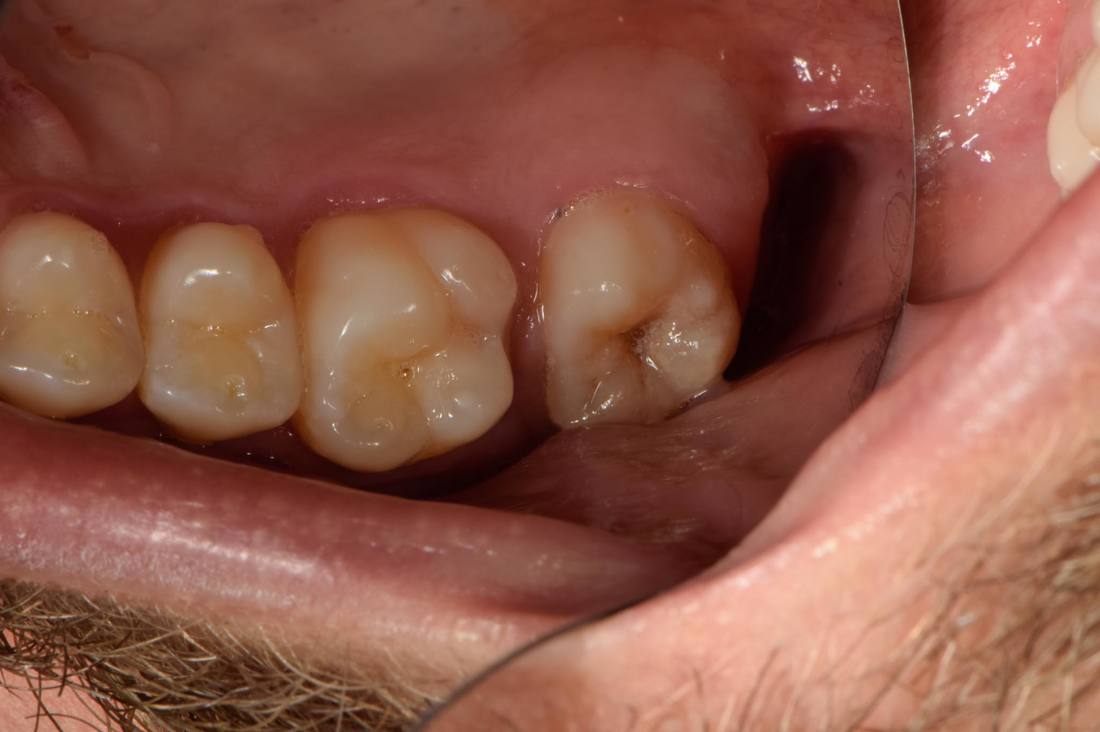
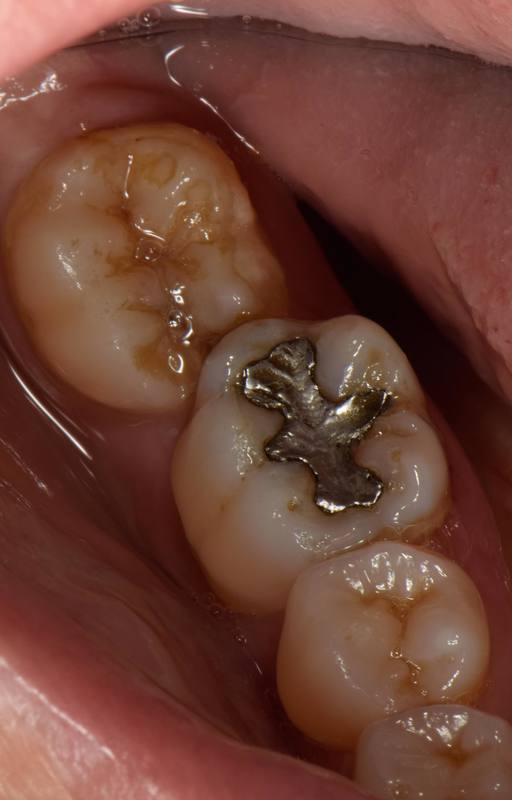
You don't have to buy a really fancy camera. In fact I am not going to start talking about camera choices or what settings to use because there are people out there with much more educated opinions than me. My setup has now cost me £2000 in total but you can get pretty decent results with almost any camera as long as you know how to control it. There is even a growing trend for dental photography using mobile phones. So here are some of the photos I have taken recently. While looking at these try to imagine recording down everything you can see in these photos in writing and how long that would take you.  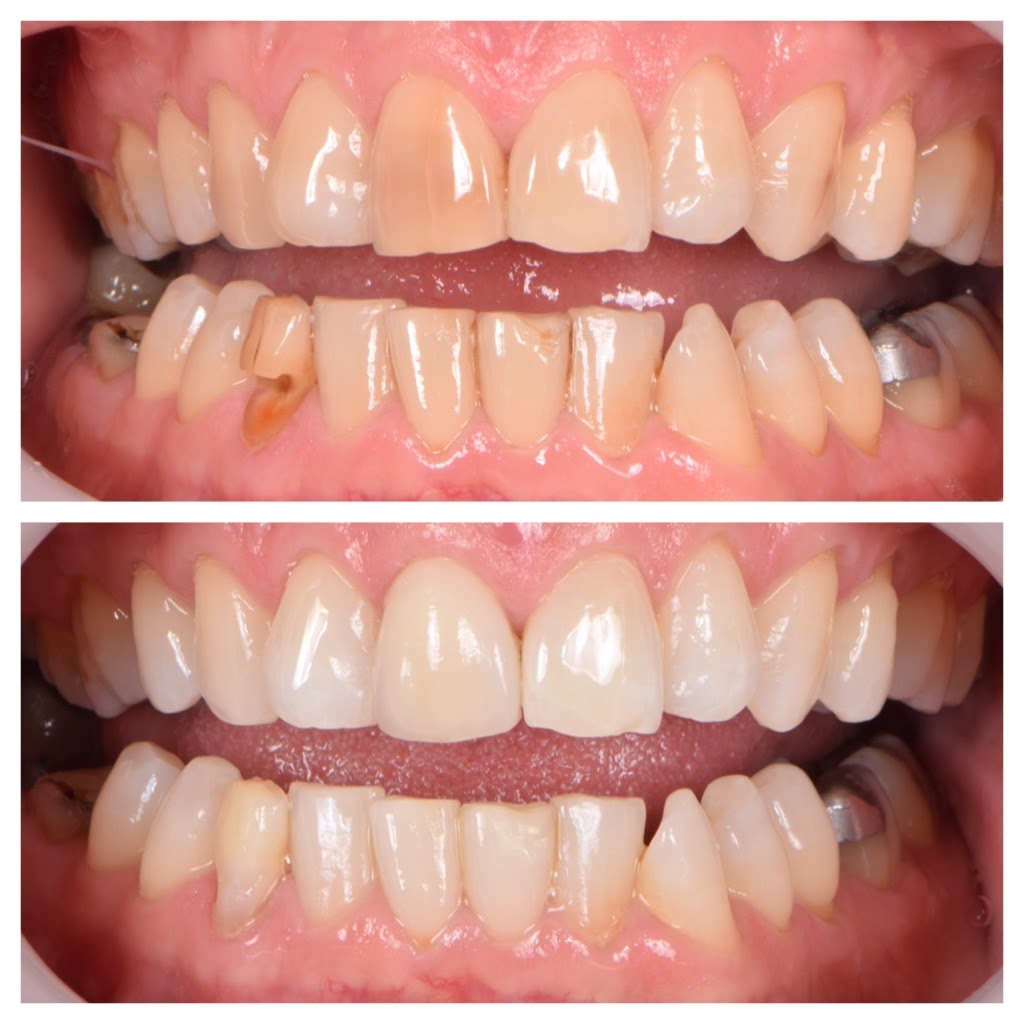 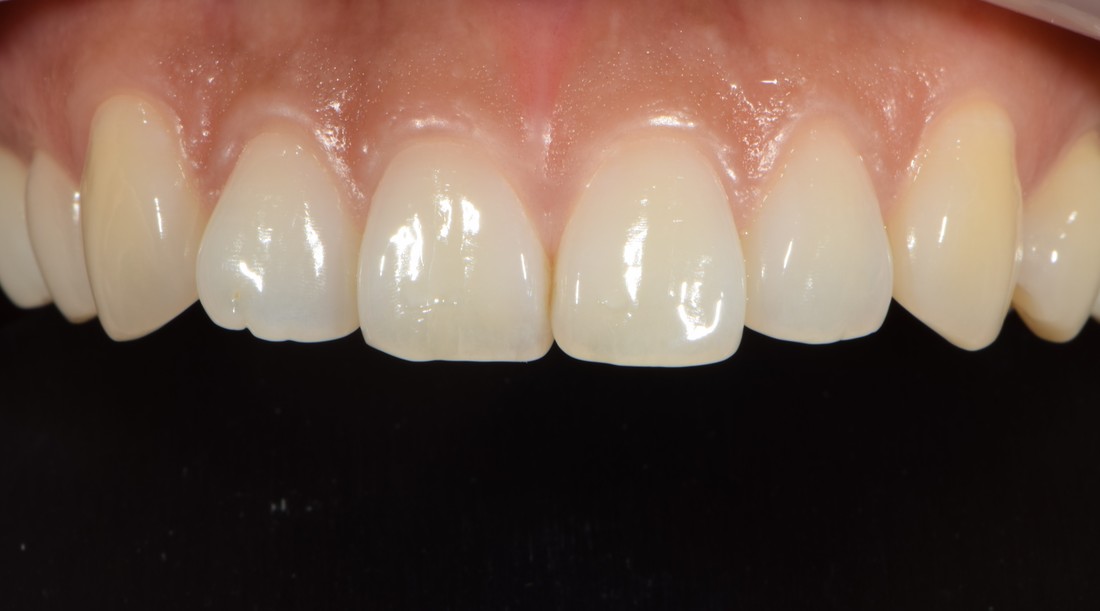  |
AuthorDr Chris Harper Archives
August 2020
Categories
All
|


 RSS Feed