
|
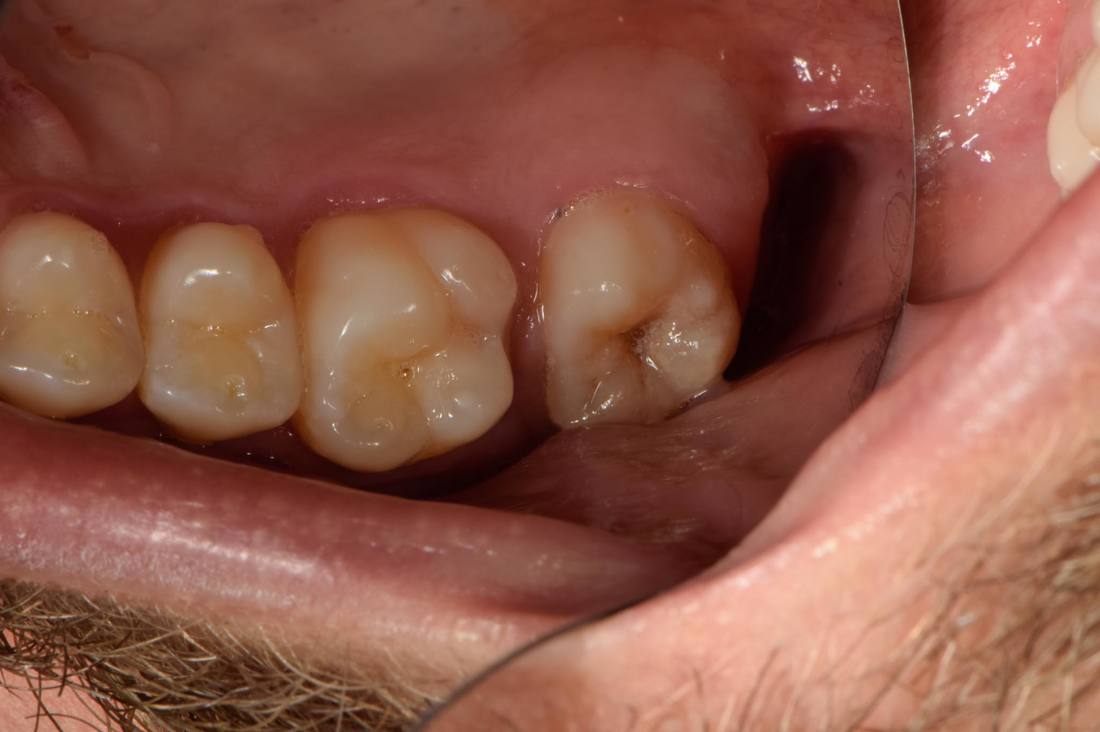
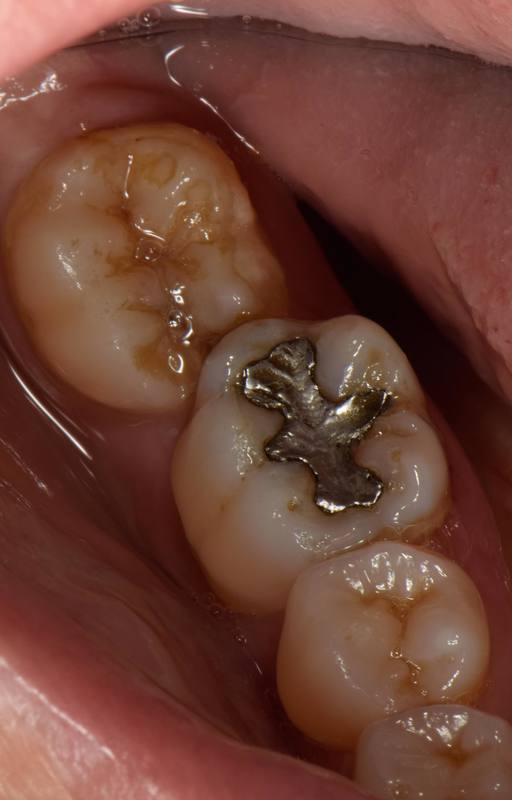
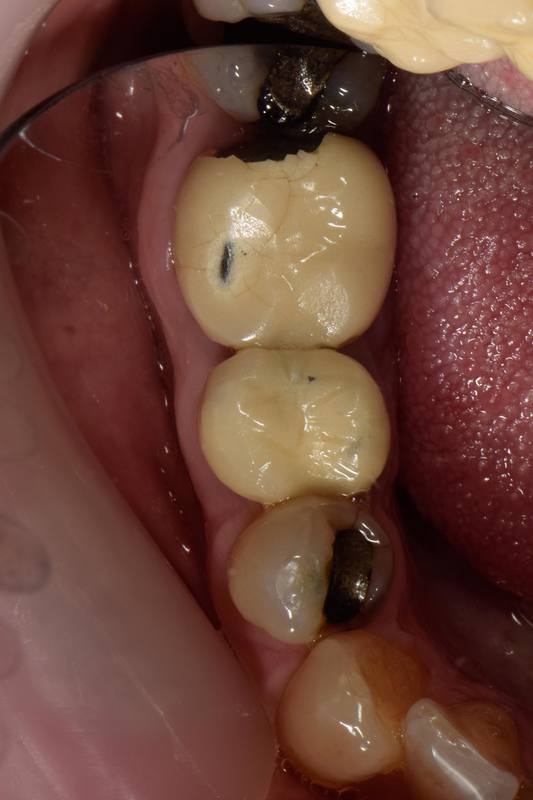
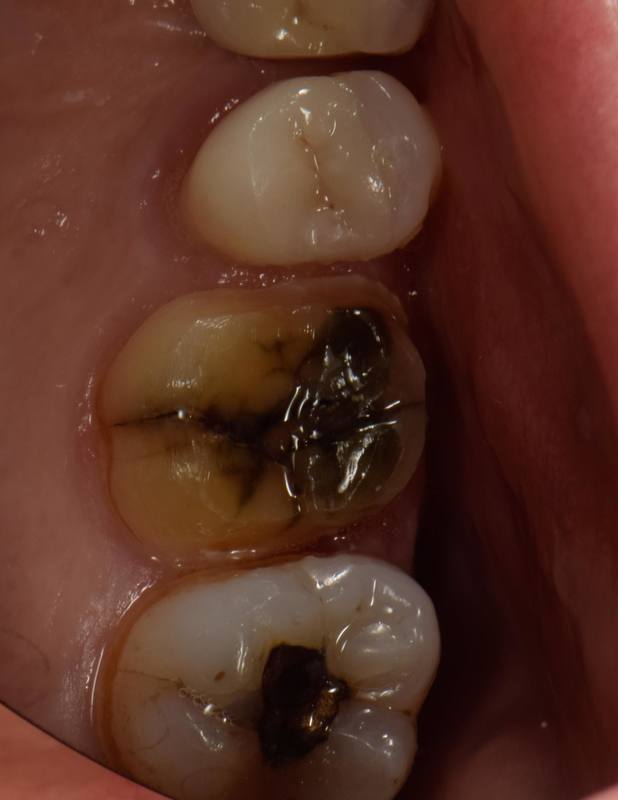
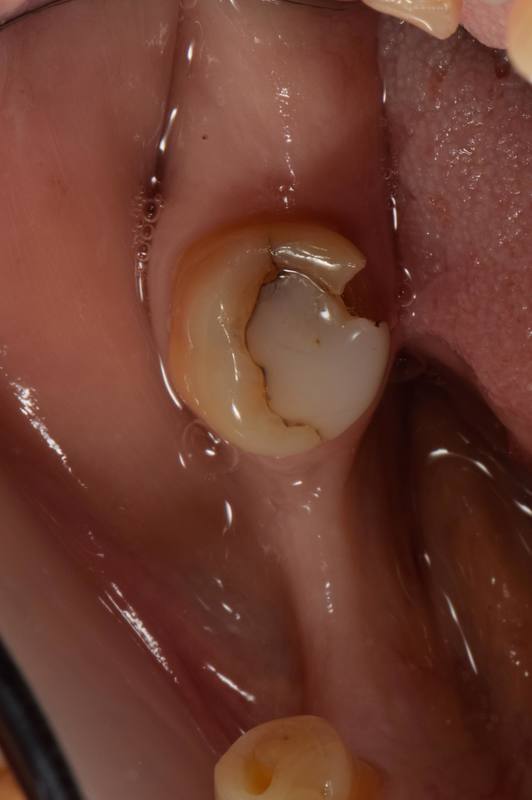
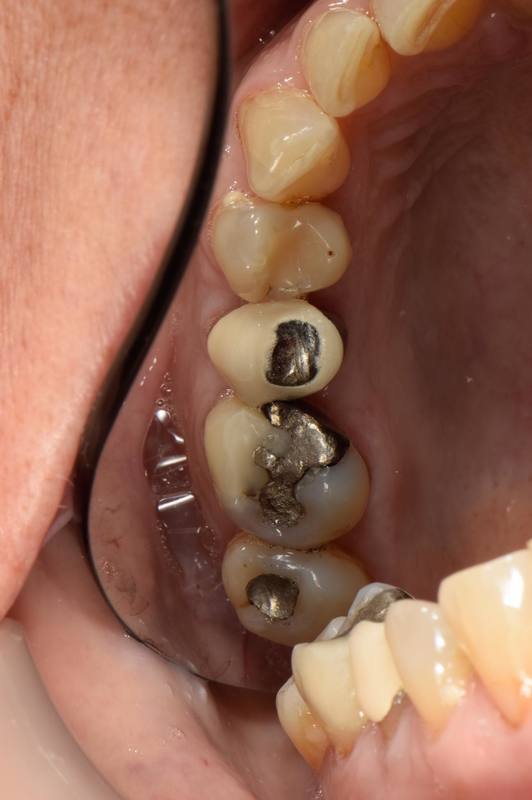
What's your excuse for not taking a lot of photos? I used to have 3 main excuses: 1) It takes too long. Previously that was a very valid excuse. When my old camera lived in a camera bag in a cupboard and taking dental photos was a rare occasion then understandably it took quite a while to set it all up and get half decent photos. I also then had to spend a fair chunk of my lunch break or at the end of the day using a card reader to transfer them onto the computer. 2) It is such a faff getting good photos. If your camera is not setup right and you are not used to taking photos then this is the case. 3) It doesn't make much difference whether I take photos or not. Hopefully I will show that these excuses were pretty lame and it is now possible to make dental photography quick, simple and very effective. Over the past few weeks I have been trying an experiment. Instead of picking up my basic chair mounted intra-oral camera I have been seeing if I can instead get half decent proper SLR photos and show them to the pt in that appt. I will make it clear that I have not been aiming for perfect photos, but instead, quick, simple and effective (useful) photos. I will explain how it works: 1) I say out-loud "I want to get a photo of some of your teeth so I can show you what I can see." My nurse knows this is the cue to get me some cheek retractors and start putting the pts details into the photo consent form. 2) I take one or two quick photos. 3) I sit the pt up and let the nurse do a little small talk while I connect my wifi SD card to the iPad. 4) I transfer those photos onto the iPad. 5) I explain photo consent and get the pt to sign the form. 6) Now I can start showing the pt their photos. This whole process once you are used to it takes about 3 minutes. Thats really not a long time. It is possible to do it this quickly because I have practiced at it and I have simplified the process as much as I can with a few shortcuts: 1) I have fine tuned my camera settings so that I can turn the camera on and I am ready to go for the vast majority of situations. I do not change any settings about 80% of the time. You can only do this by practicing and seeing what works for you. I will admit that if I took longer it would be possible to get better photos. I have come to certain compromises so my occlusal photos may be very slightly underexposed etc. 2) I package up my retractors in standard sets. Each set has a pair of large, small, and cut off retractors so that any pt can be accommodated. 3) I use a heated blanket so that my occlusal mirrors are ready to go all day long. 4) My camera has a shortcut button which I have programmed to take me straight to the part of the menu relating to creating a wifi link with an iPad. See photo below. 5) My iPad knows to automatically connect to that network when it sees it. 6) The relevant apps for the photo transfer, photo storage and consent forms are all my favourites at the bottom of the iPad screen. Now finally the effectiveness part. I honestly used to think that it didn't make much difference whether I took photos or not. I felt like I was good enough at explaining things so that the pts would understand me whether then can see their tooth or not. I also felt like my work was probably good enough without taking photos too. A recent examination proved this was not the case. I recently had a 5 year review of a veneer case I did just after qualifying. A lady in her mid 70s with a midline diastema she wanted to close and centrals with multiple composites on the buccal surfaces. I removed the fillings and prepared for feldspathic veneers and they are still in place. At the time I was happy with the result and the pt is still really very happy with how things look. However I was shocked at how many faults I can see with my previous work. A lot has changed in those 5 years. I am the first to admit that back then my passion for dentistry was almost non-existent. I did the job and went home. I have since then upgraded to 5x loupes. I now work exclusively with a very highly skilled technician. However the big factor for me is that if I had taken photos before I picked up a handpiece then I would have treated this case differently. And now that I am so much more used to studying photos of teeth in detail I know that my attention to detail is a lot higher and I would have been able to get a better result. So below are a selection of photos I have taken in the last few weeks. Every single one of them was taken, transferred onto the iPad and discussed with the pt at the same appt in my normal allotted times. I did not extend any of the appts to allow me to do this experiment.
0 Comments
Leave a Reply. |
AuthorDr Chris Harper Archives
August 2020
Categories
All
|


 RSS Feed