|
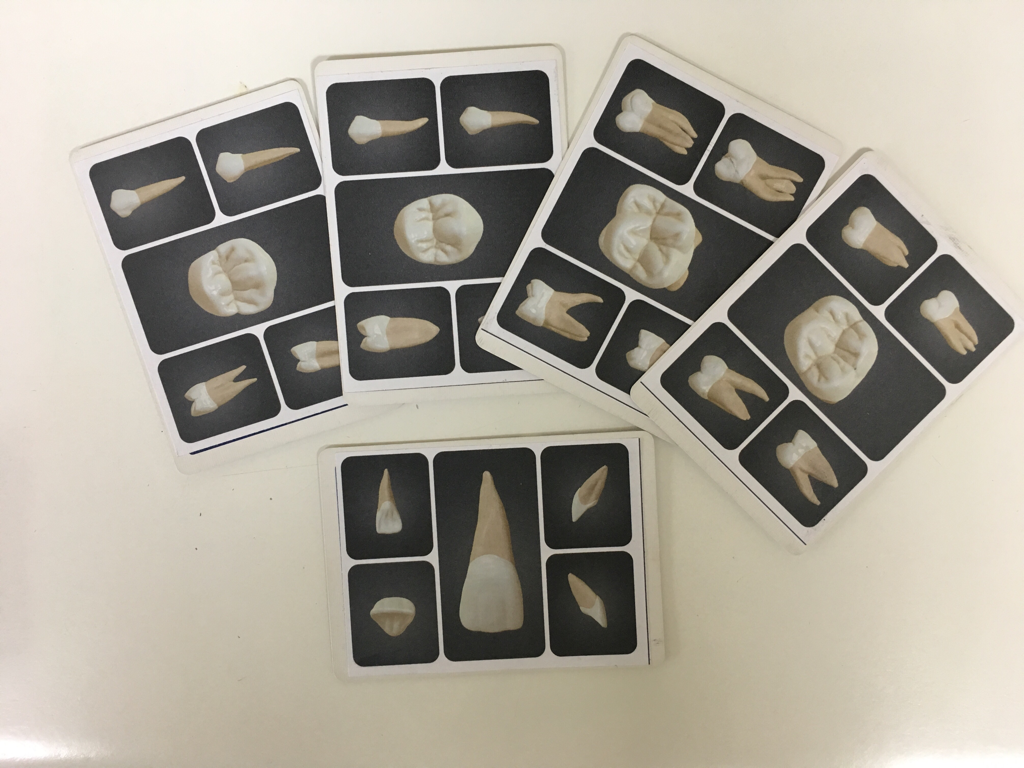
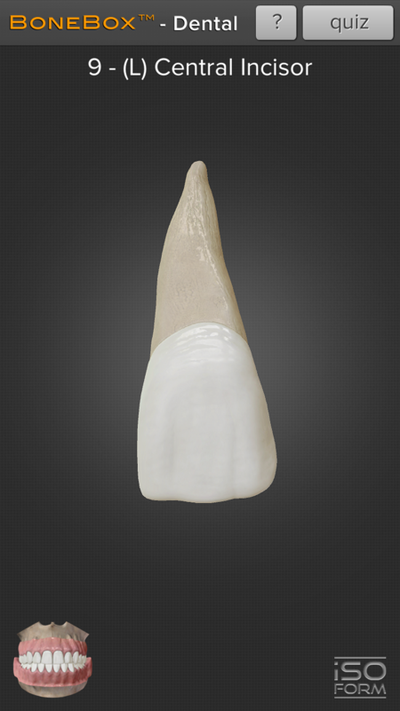
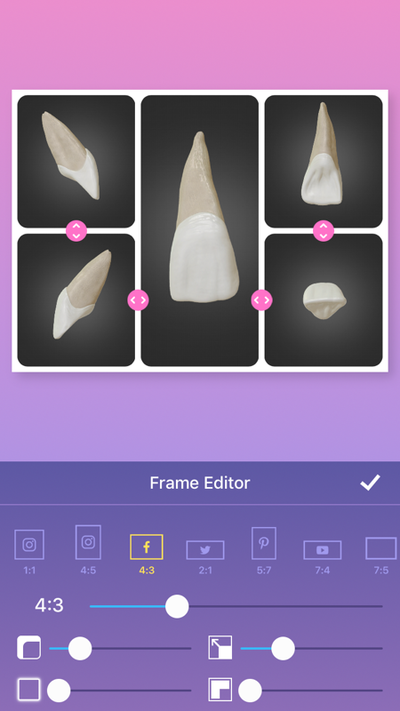
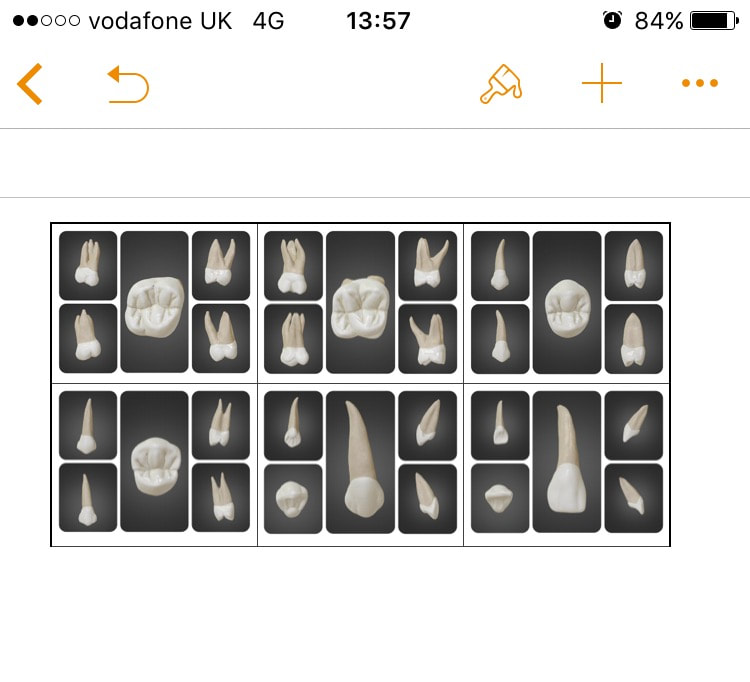
After the popularity of my post last week about my anatomy revision cards, here is the guide on how to make them for yourself. This technique can be applied to any subject that you want to create revision cards for. 1) First you need to create the images for the front of the cards. I used screenshots of the Bonebox iPhone app. 2) I collated these screenshots together using another app designed for creating collages of photos called Pic Jointer and put them in a word document for ease of resizing them. 3) These images are then printed out and stuck to one side of a standard playing card using a glue of your choice. I raided my daughter's pencil case for some Pritt-Stick.
4) On the back of the cards you can write whatever text you want to relate to the specific tooth. I created a table in Word and then used my old uni revision cards to input data on the eruption dates for each tooth and then found a good endo resource online for statistics about numbers of canals etc. I also found a few interesting diagrams about anatomy or endo access via a google image search. 5) Once again print, cut and stick making sure that you put the right data with the right tooth! This idea lends itself well to dental anatomy, but could work equally well for learning any topic. In essence write yourself a question on one side of the card and the answer on the other.
0 Comments
Leave a Reply. |
AuthorDr Chris Harper Archives
August 2020
Categories
All
|


 RSS Feed
